June 3, 2025
Seven Crucial Steps When Repairing a Faulty Drainage
A faulty drainage system is more than just a nuisance — it’s a serious issue that can lead to water damage, mold growth, and even foundation problems if left unresolved. Whether it’s a clogged pipe, cracked drain, or faulty slope, drainage repairs demand timely attention and a methodical approach. Homeowners often try DIY fixes, but without a clear plan and understanding, these attempts can sometimes make things worse.
If you’re dealing with persistent pooling water or slow-draining sinks, it’s time to investigate your drainage system more thoroughly. For reliable, expert help, consider hiring a drain repair service in Chula Vista to handle more complex or recurring drainage issues before they escalate.
How to repair damaged drainage?
Repairing damaged drainage involves more than just patching up leaks or clearing clogs. It requires identifying the root cause, planning the right approach, and using the correct tools and materials for the job. Following the right steps helps ensure your repairs are effective, safe, and long-lasting.
1. Identify the problem source
The first and most vital step is locating the exact point of failure in your drainage system. This could be a broken pipe, blockage, poor grading, or a collapsed section. You might notice slow drainage, foul odors, wet patches in your yard, or gurgling sounds from pipes. Use drain inspection cameras for accuracy, or consult a professional for a full diagnostic before you dig or dismantle anything.
2. Clear any blockages
Blocked pipes are a common cause of drainage failure. Tree roots, grease buildup, foreign objects, or mineral deposits can all obstruct the flow. Use appropriate tools like a drain auger or a high-pressure hydro-jetting system, depending on the severity of the clog. After clearing the blockage, flush the system with clean water to ensure that the flow is fully restored.
3. Excavate the damaged area
For underground drainage systems, exposing the problem area is essential. Carefully dig around the damaged section, ensuring you don’t disturb nearby pipes or landscaping.
Be sure to call 811 or your local utility service before digging to prevent accidental damage to underground utilities. Once the pipe is fully exposed, clean off dirt and debris to get a clear view of the damage.
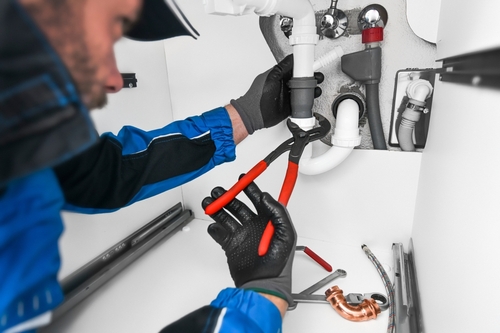
4. Repair or replace the pipe
After inspection, decide whether the pipe can be repaired or needs replacement. Small cracks or leaks might be sealed using waterproof epoxy or slip couplings. However, larger issues like collapsed or corroded pipes usually require full replacement. Choose materials compatible with your existing system, and ensure all fittings are watertight. Double-check all measurements to avoid future alignment issues.
5. Check the drainage slope
Improper slope can cause water to sit in the pipes rather than flow freely. This often results in recurring blockages or backups. Use a level to measure the pitch of the pipe—typically, a slope of 1/4 inch per foot is ideal for most residential drainage systems. If needed, adjust the trench depth or pipe bedding to achieve the correct slope before continuing.
6. Test the system
Once repairs are complete, test the drainage system before sealing everything up. Run water through it and watch for leaks, slow flow, or other irregularities. This step helps confirm that your work was effective and that no issues were overlooked. Catching problems at this stage is far easier than re-excavating later.
7. Backfill and restore the surface
With everything working properly, it’s time to backfill the trench. Replace the soil in layers, compacting each one to avoid future settling that could stress the pipes. Take care to maintain any slope created during installation. Finally, restore the surface above—whether it’s grass, concrete, gravel, or garden—to its previous condition or better.
How do I find a reliable drain repair service in Chula Vista and the surrounding area?
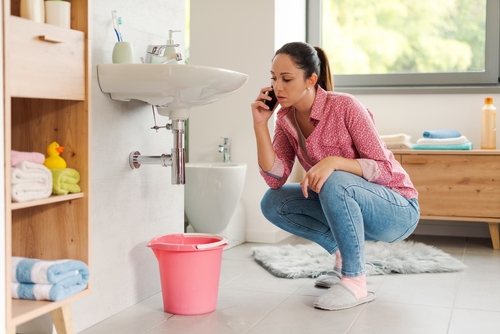
If you’re feeling overwhelmed or simply want the job done right the first time, Bob the Plumber is here to help. Our experienced technicians specialize in diagnosing all types of drainage issues and repairing them with top-grade materials and proven techniques. We treat every home with care and every project with professionalism. If you need a complete guide to your drainage system, just ask one of our pros for advice. Whether you live close to the Living Coast Discovery Center or in another part of Chula Vista, our pros are at your disposal. Don’t wait for water damage to get worse. Call us today to schedule a fast, reliable, and affordable service!
Related Articles
5 Warning Signs of a Damaged Sewer Line
Your sewer line plays a critical role in carrying wastewater safely away from your home or commercial property. When it …
What a Sewer Line Inspection Is & What It Can Reveal
Sewer lines are critical to your home or commercial property, but they’re often out of sight and out of mind …
When to Call an Emergency Commercial Plumber
Plumbing problems in commercial buildings don’t always give advance warning. What starts as a minor issue can escalate quickly, disrupting …